- Light Tanks
- Medium Tanks
- Heavy Tanks
- Tank Destroyers
- SPGs
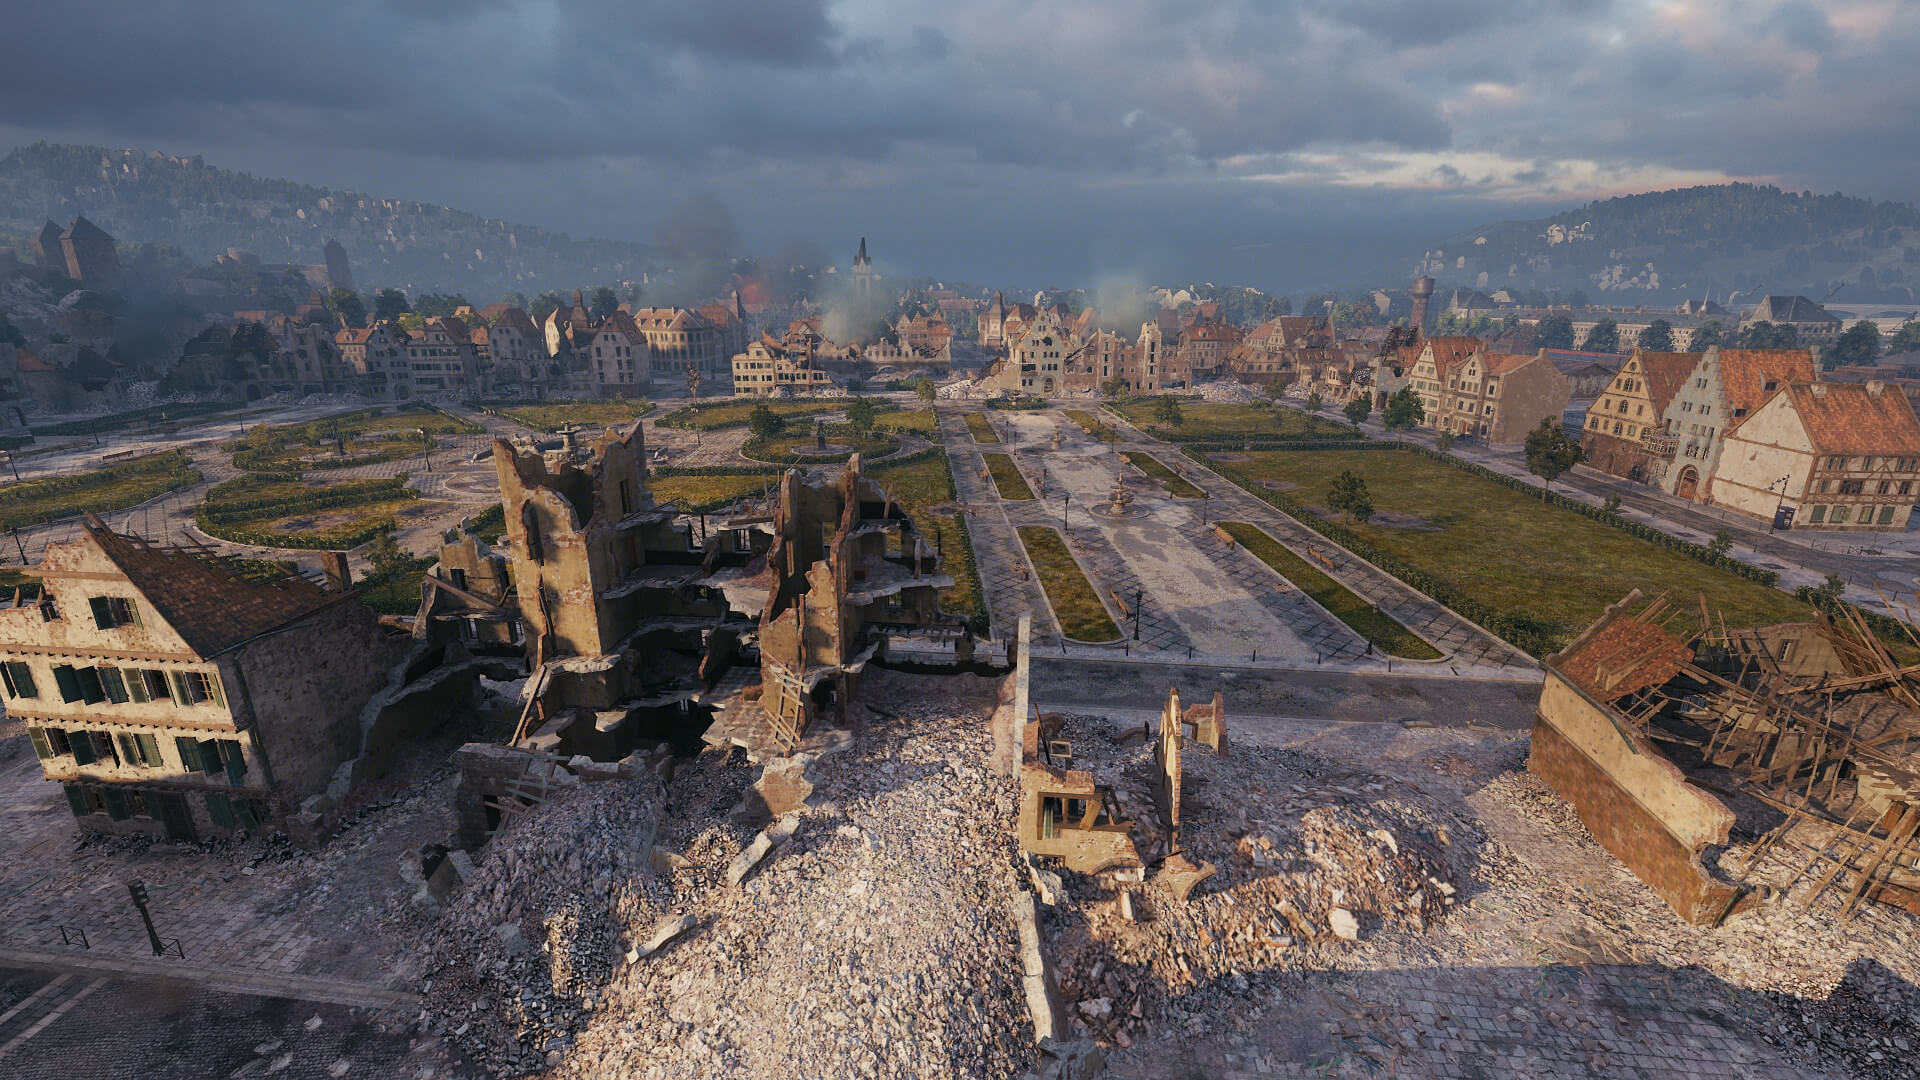
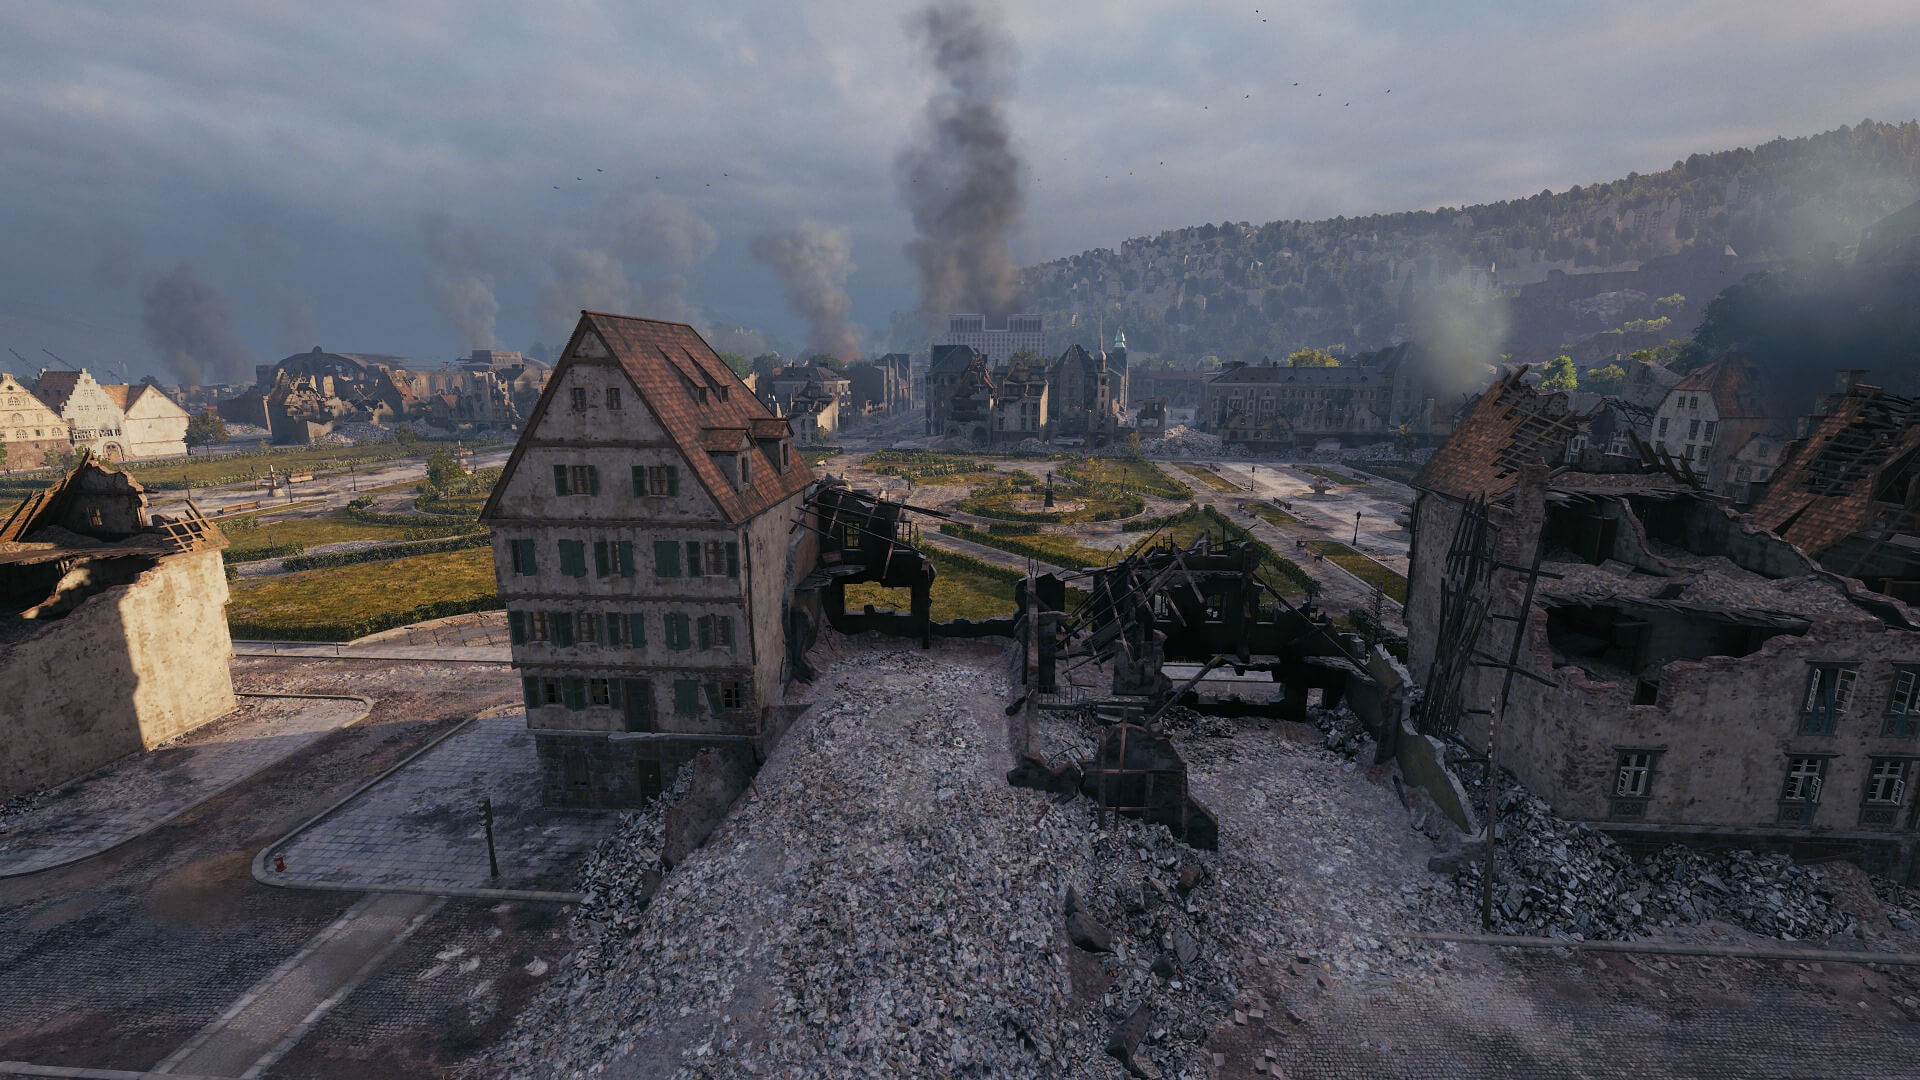
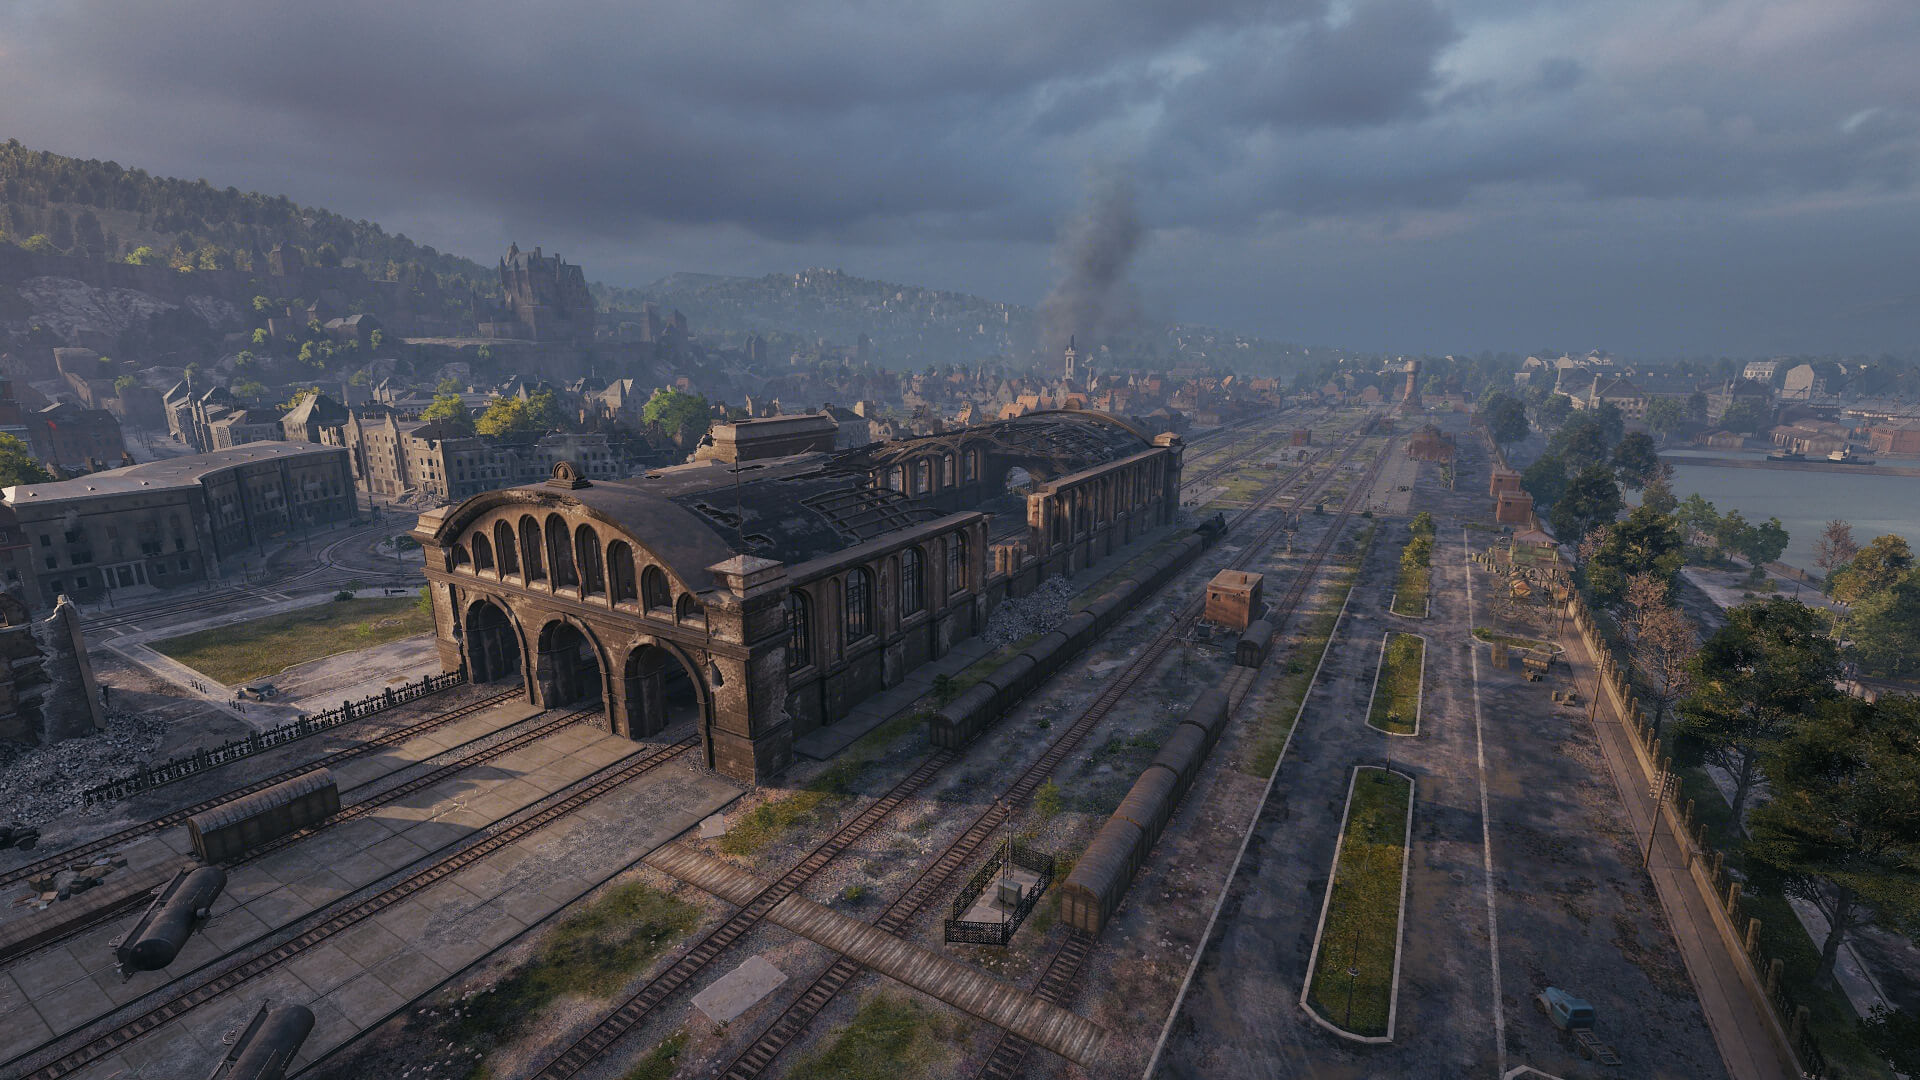
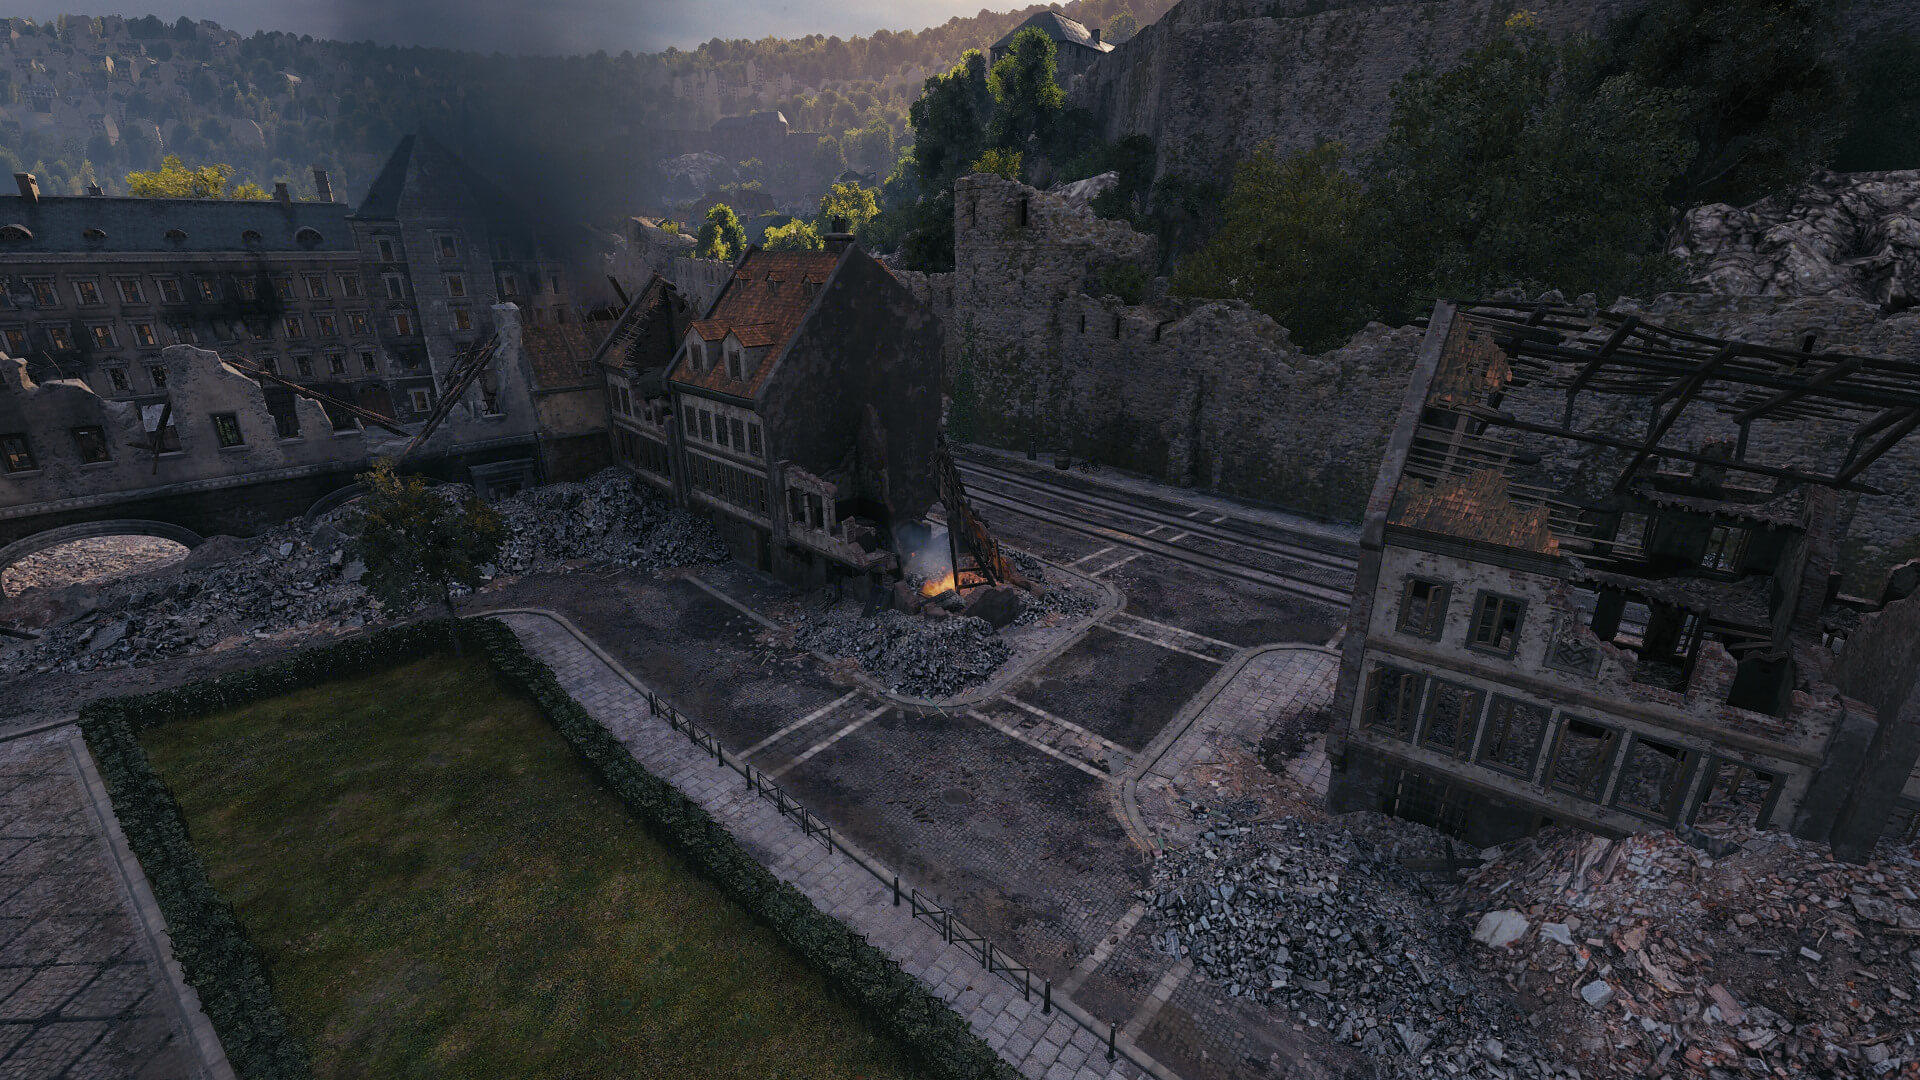
A labyrinth of streets and squares, impassable for artillery and tank destroyers yet ideal for speedy breakthrough and bypass by medium and light tanks. Access roads running by the hill, with the castle that dominates the area, and along the railway lines can help you out of the impasse.
Please note that this guide does not account for any map changes or adjustments made after Update 1.18.1 (October 2022). While it is generally applicable, some tips, tricks, and guidelines may no longer be accurate.
Commanders!
Watch the Map Guide video and read on to learn useful tips and strategies for every vehicle class, get insider tricks, and more.
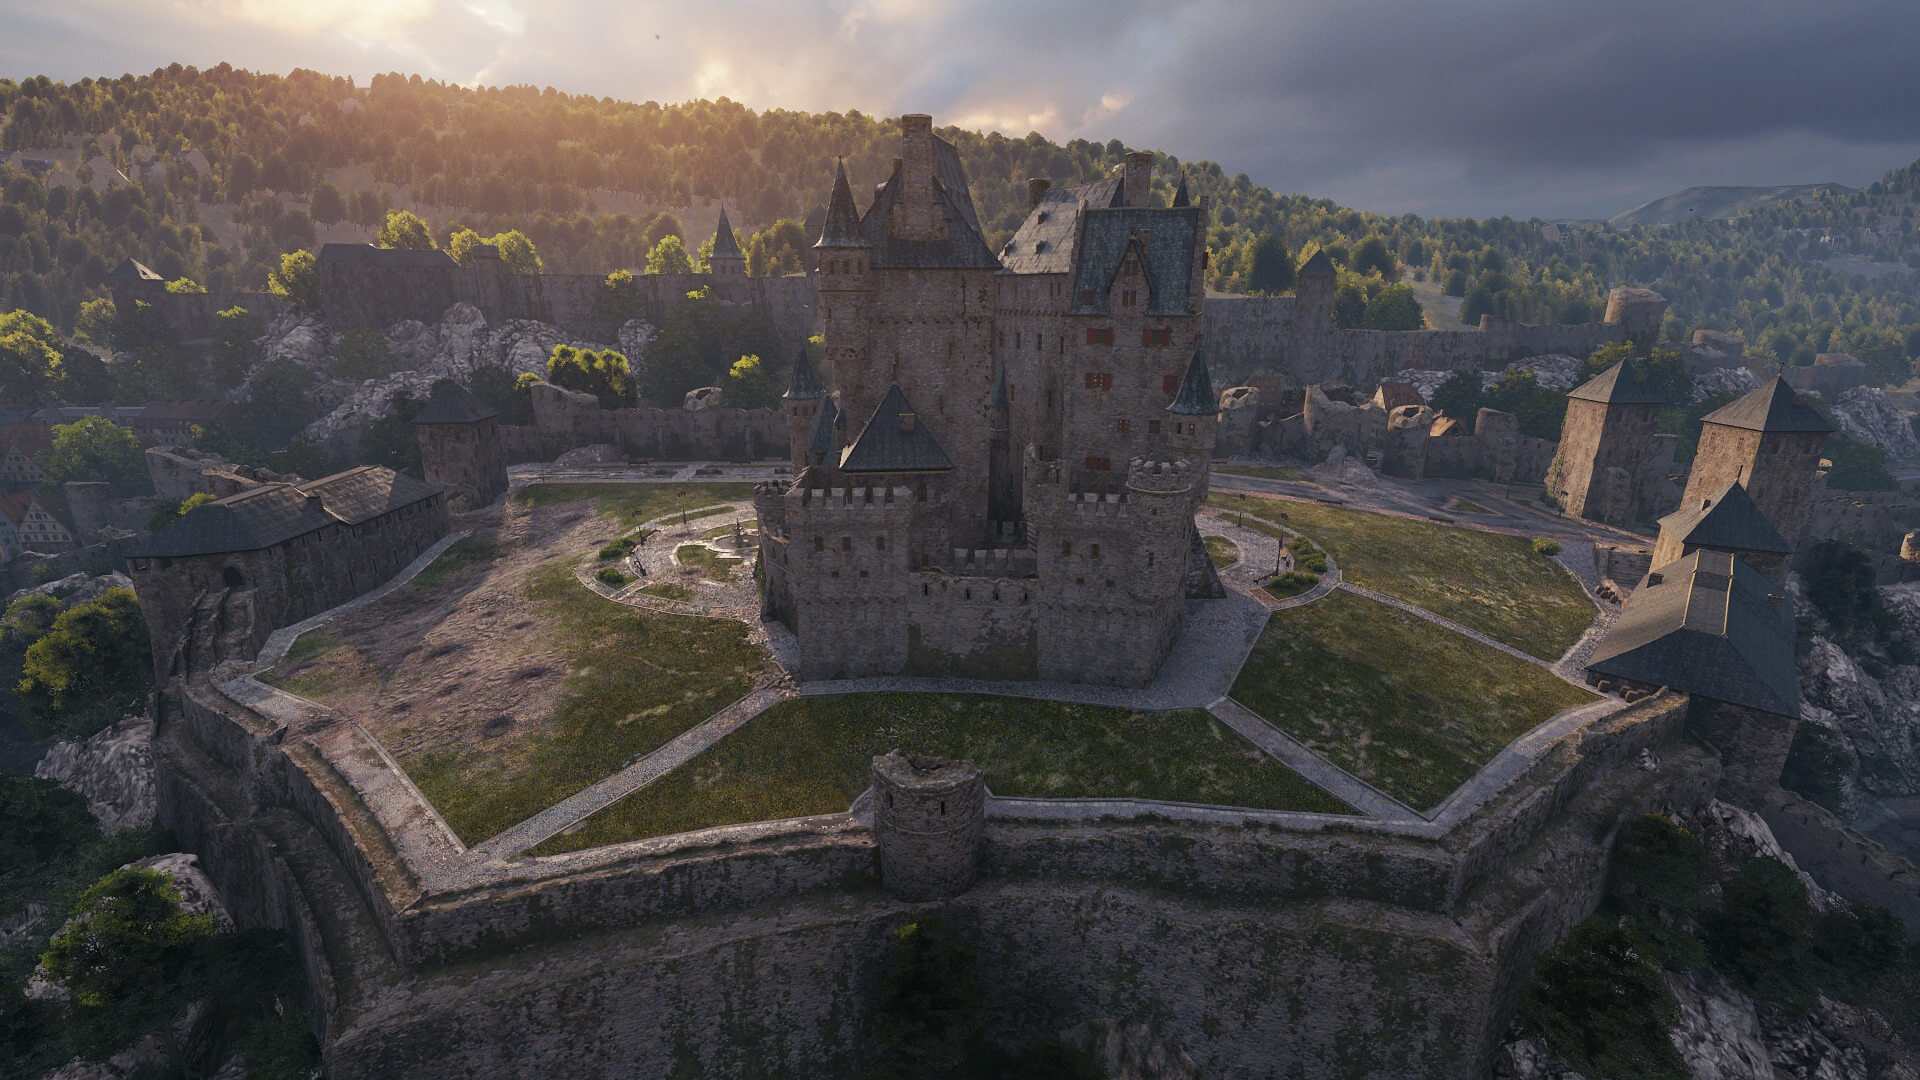
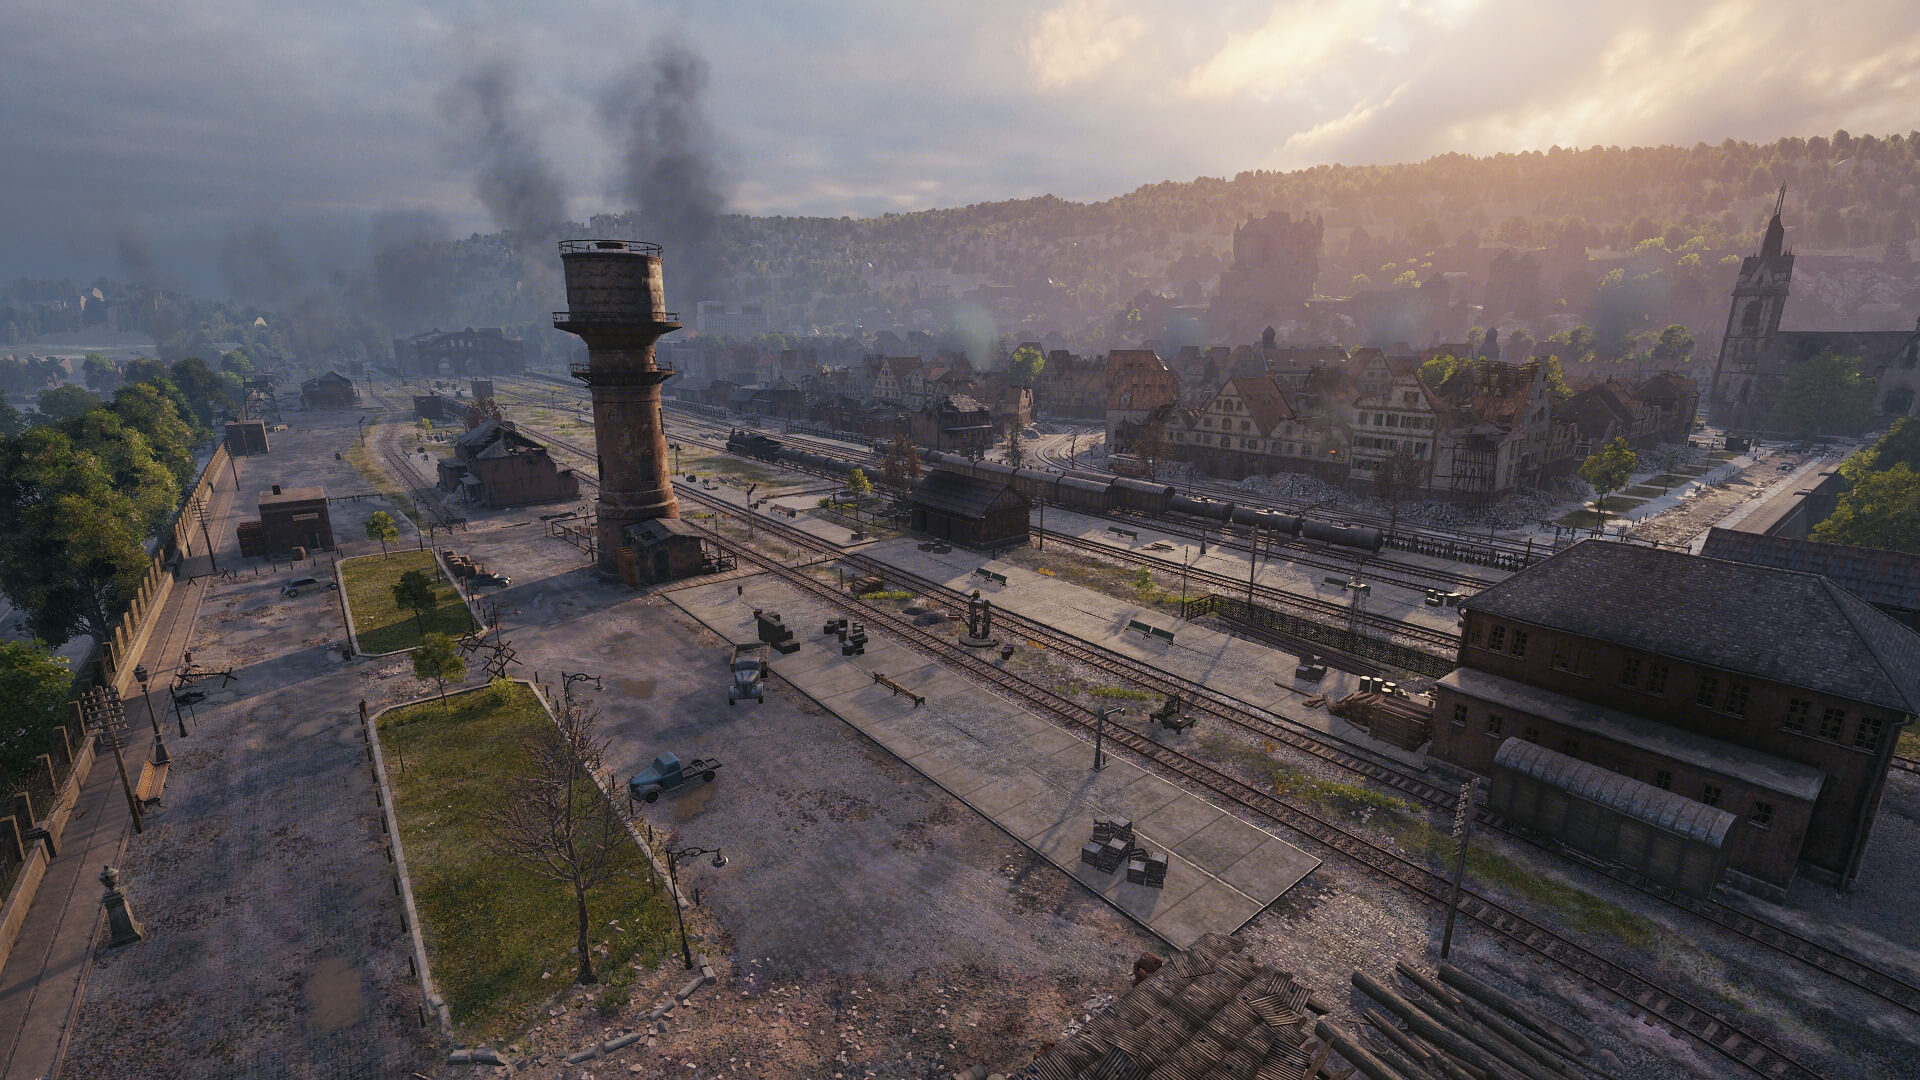
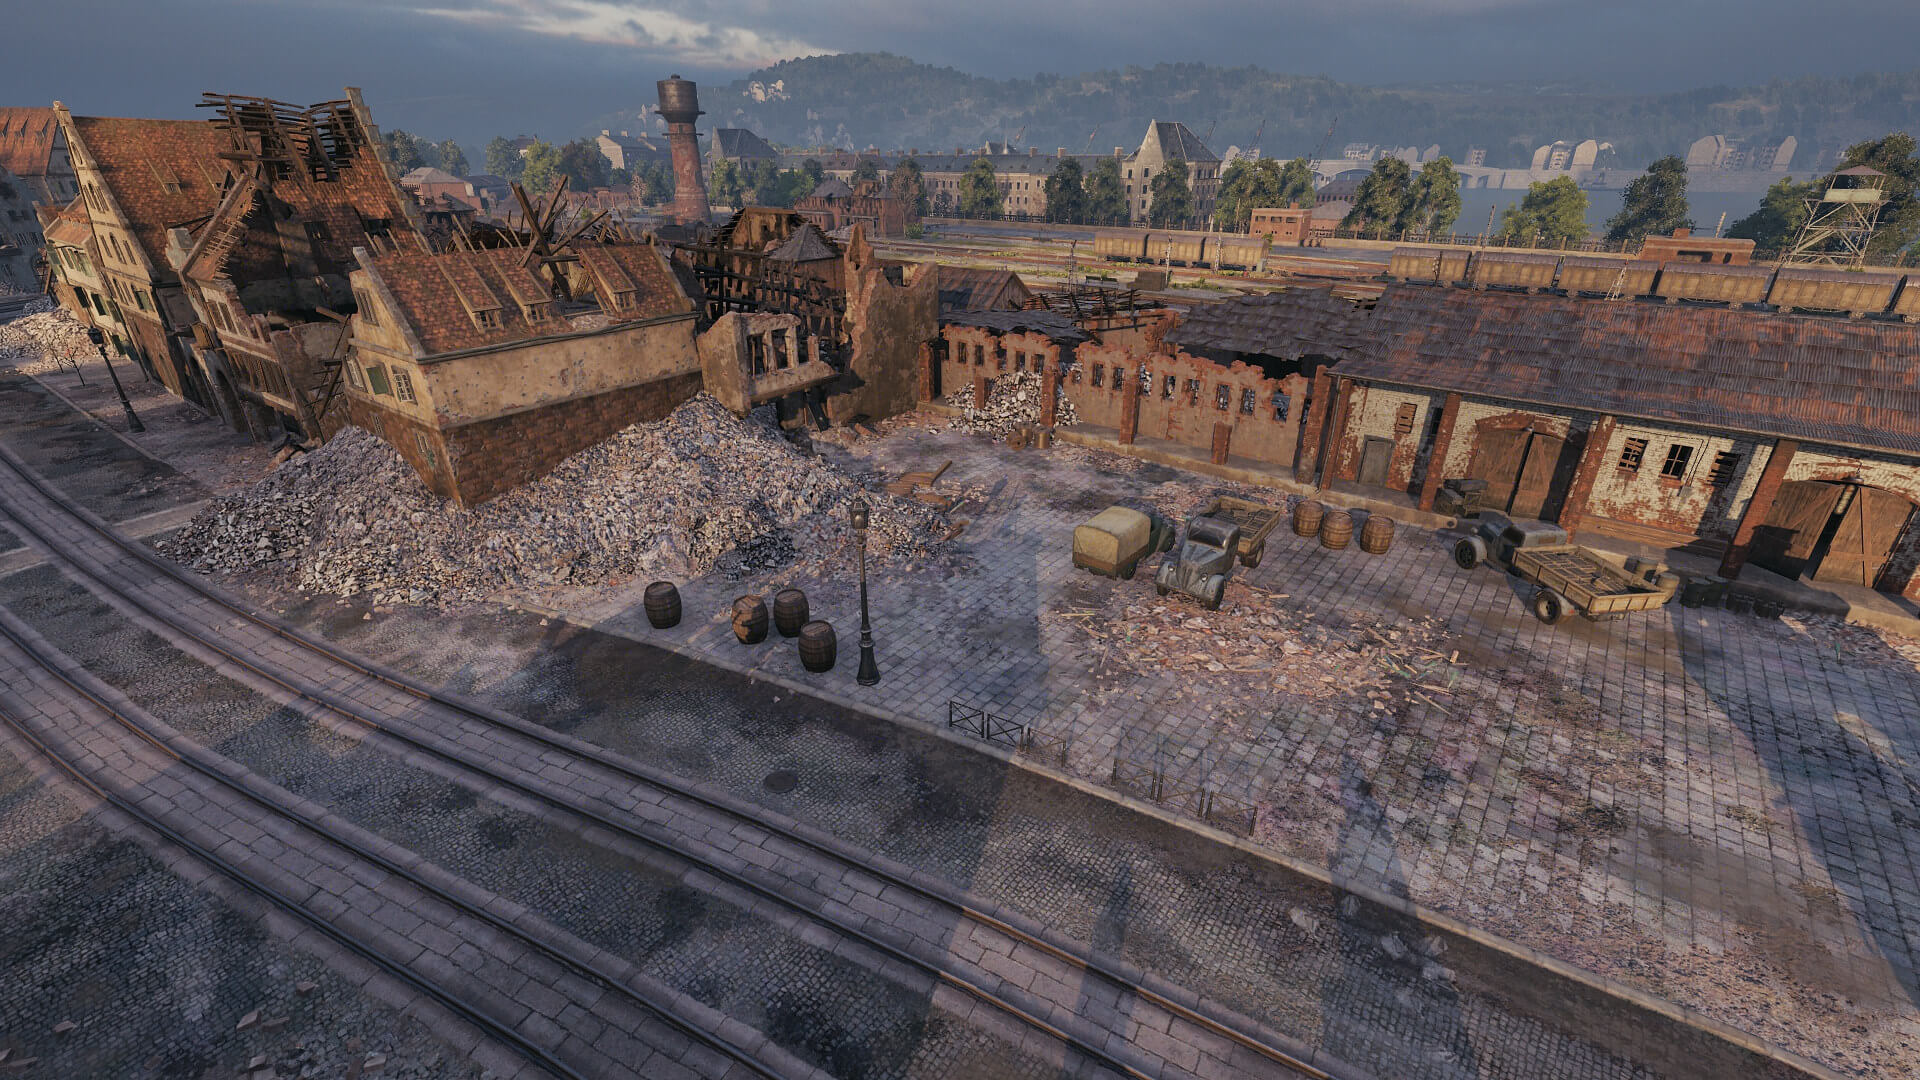
Himmelsdorf—the village in the sky, as it translates to from German—is one of the oldest battlegrounds in World of Tanks. The summer map has seen millions of Tier V–X battles and remains a favorite among close-combat enthusiasts and long-range snipers alike. Fight for dominance of the mighty castle, brawl in its shadows, or take precise shots along the rail tracks. It might be a very small battlefield, but it has great potential for epic clashes.
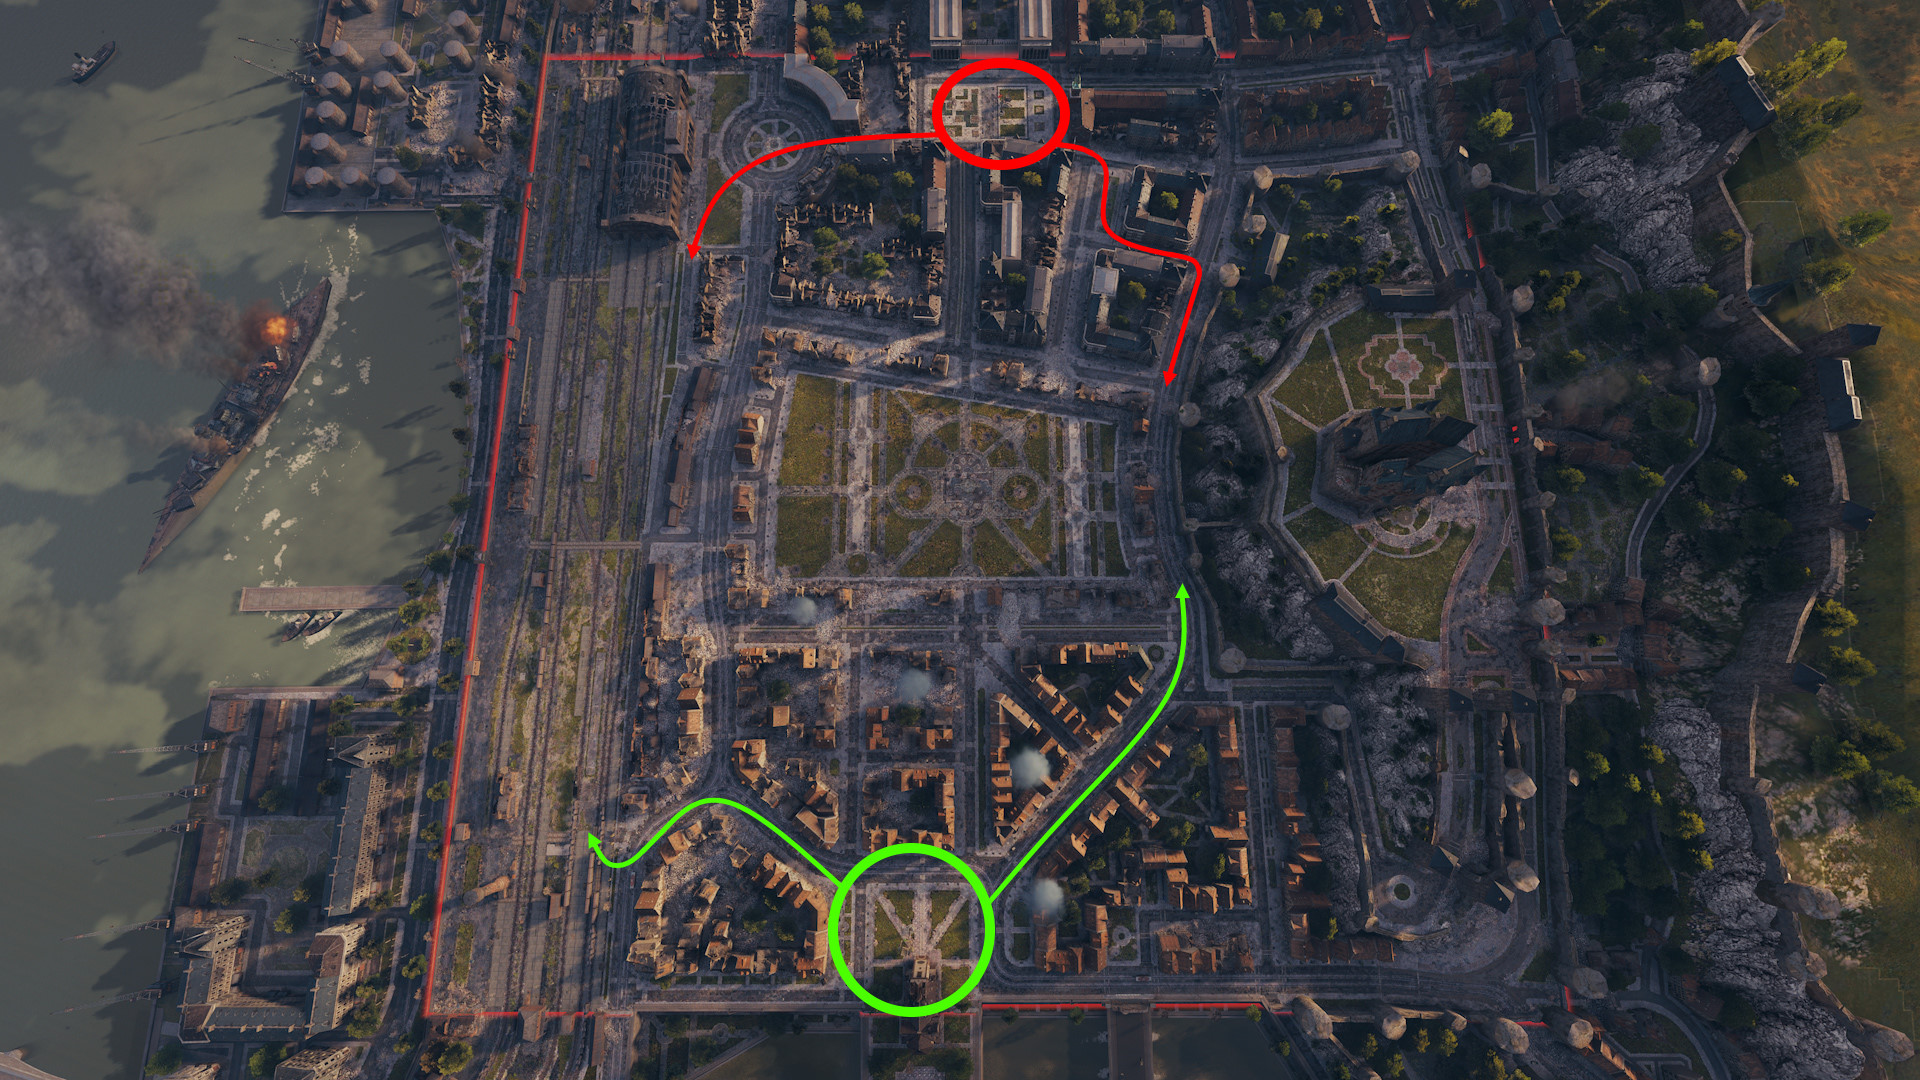
A sneaky hull-down position for the northern team to surprise enemies covering the square, brawling in the Banana, or holding the hill.
Bold commanders from the south can take this position to sneak up on enemy heavy tanks.
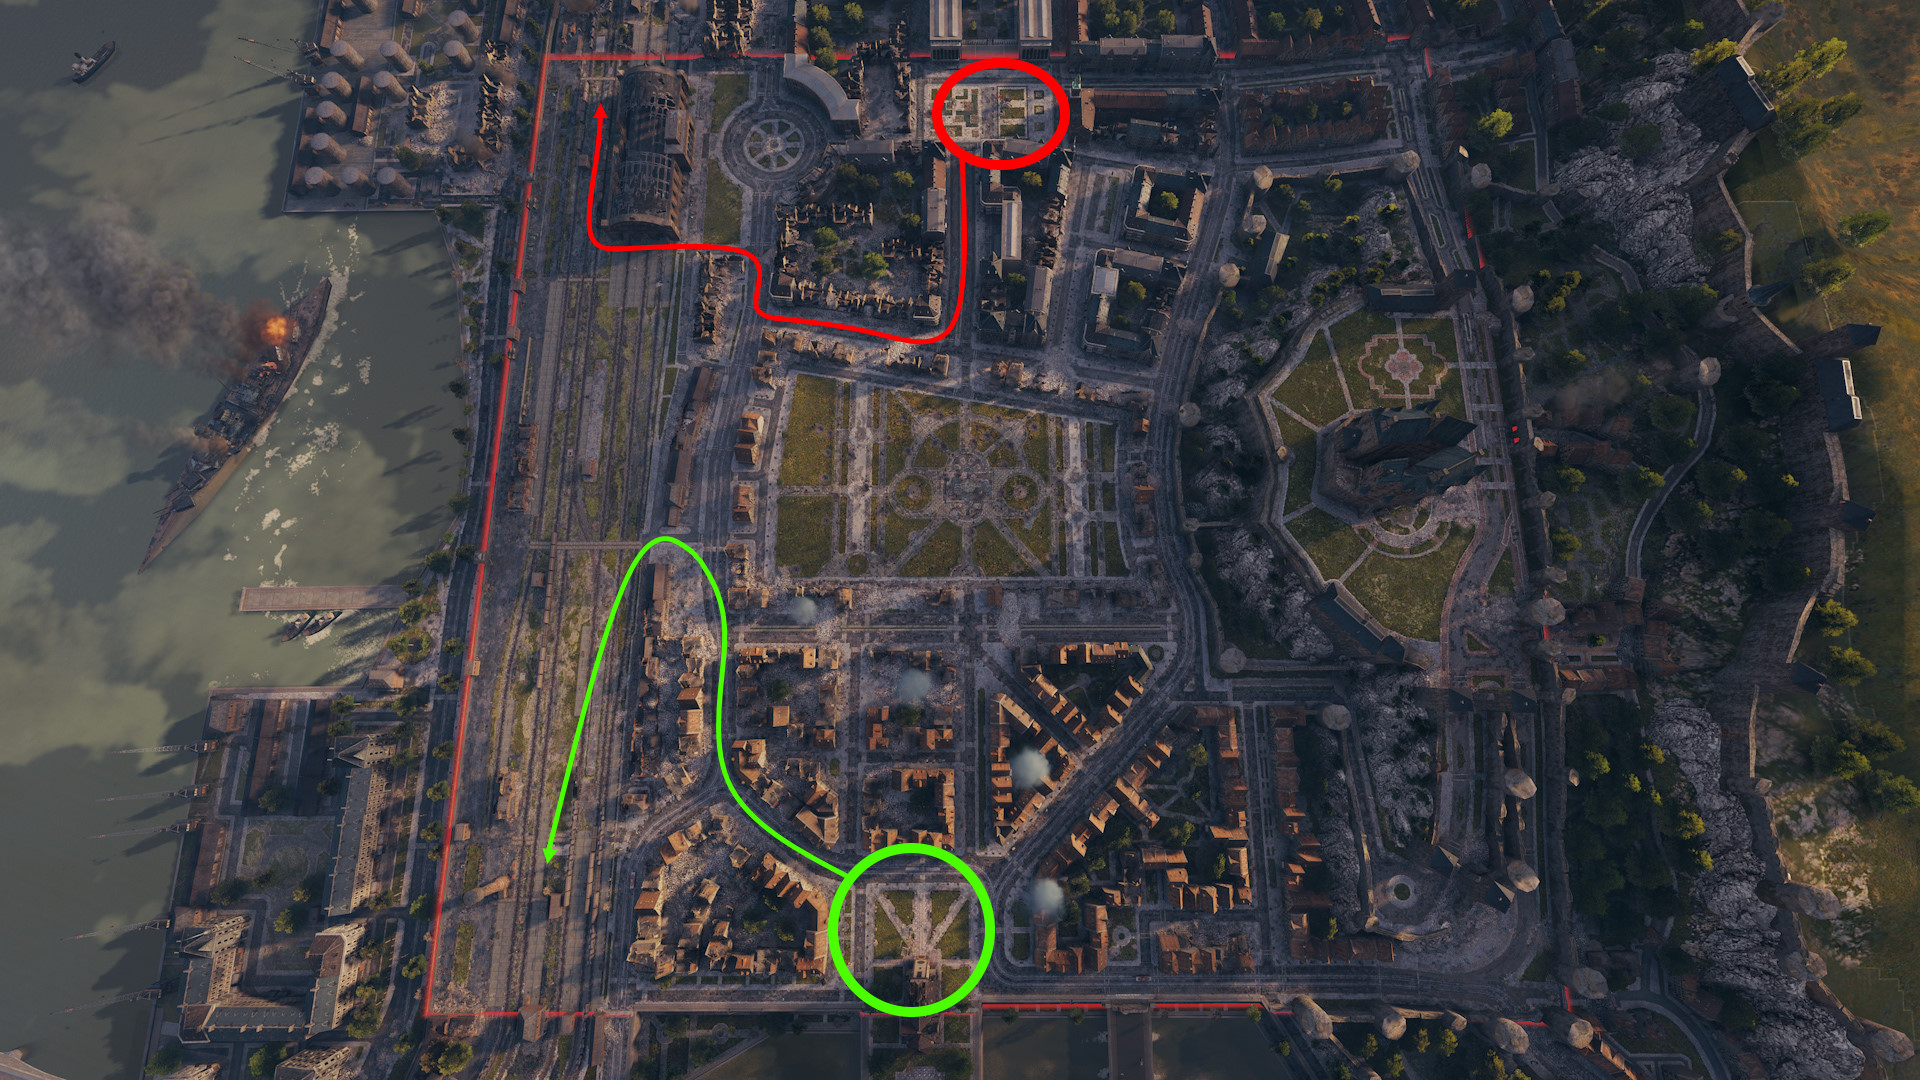
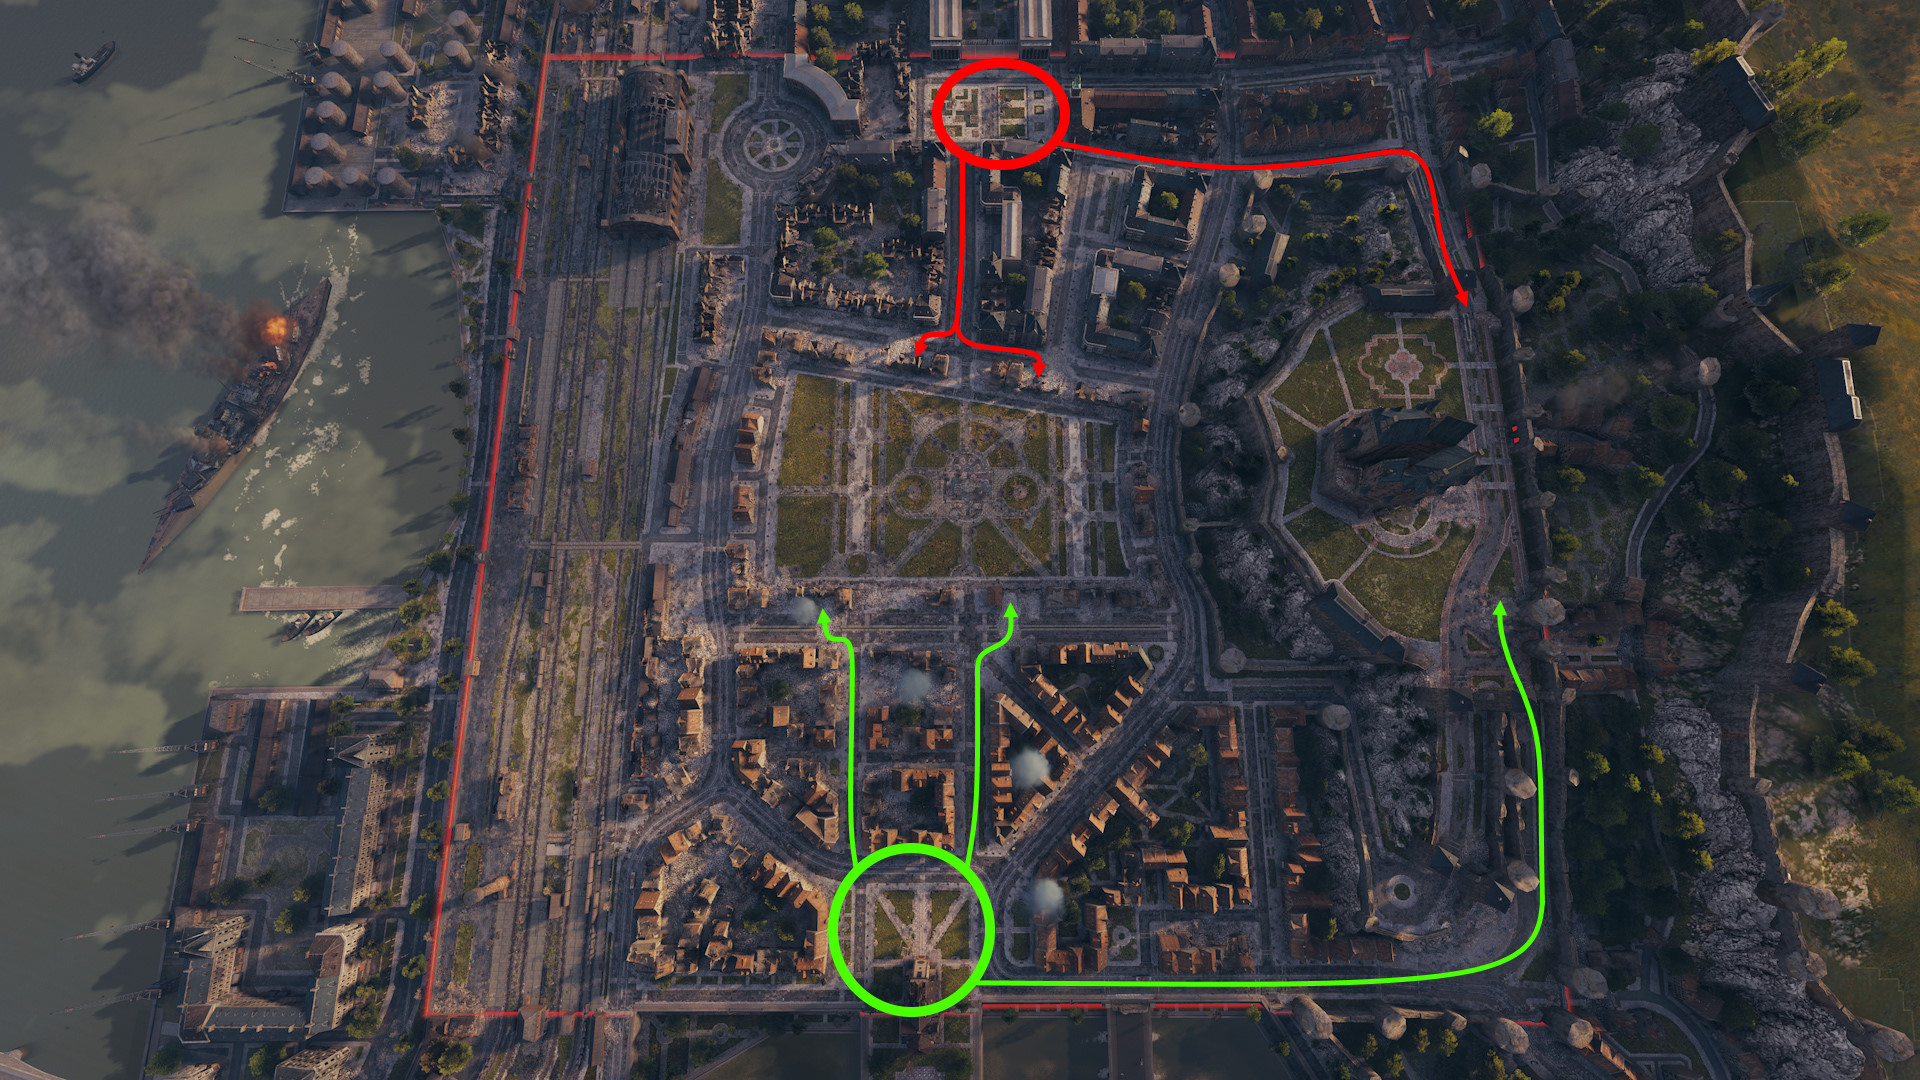
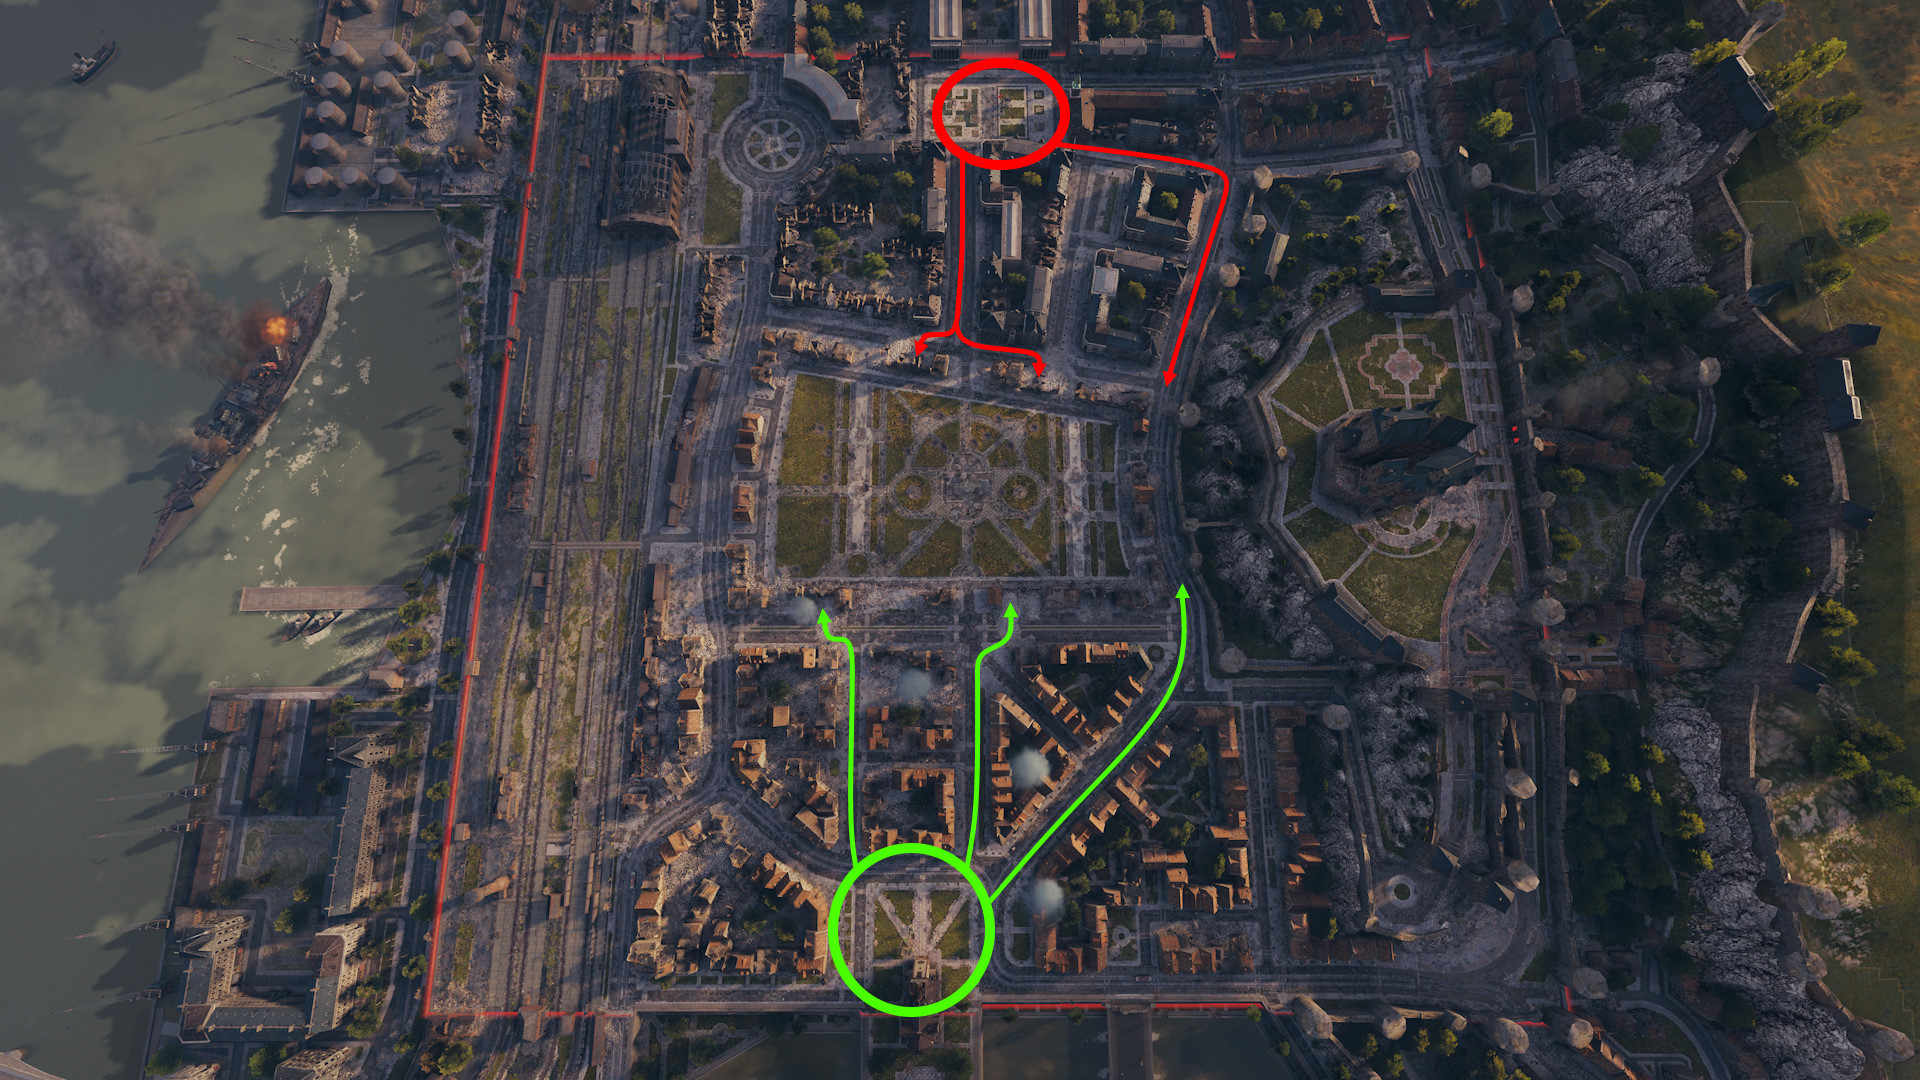
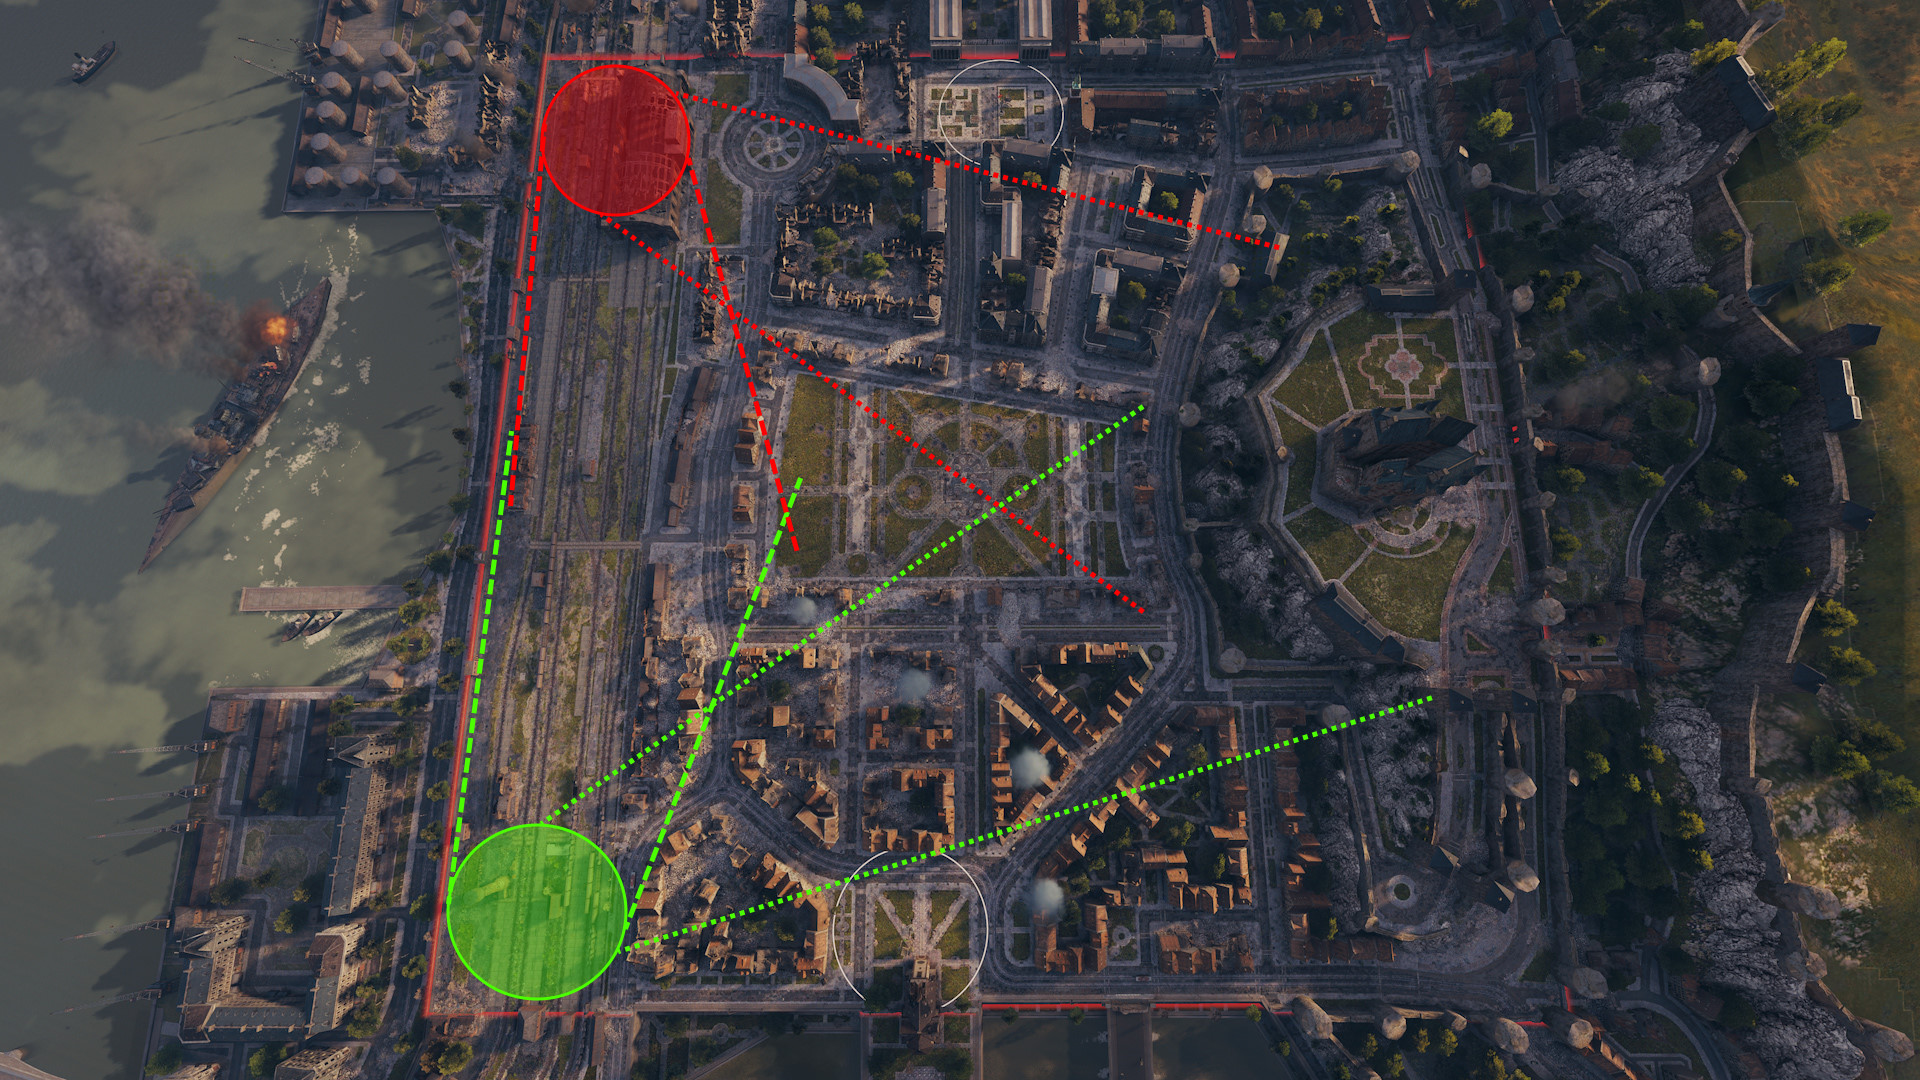
Check the map above to see the most favorable positions for every class, as well as points of interest to gain the upper hand.
Actively scout the battlefield to provide vital intel. The center of the map consists mainly of narrow streets and tight corners that allow for quick dashes into cover.
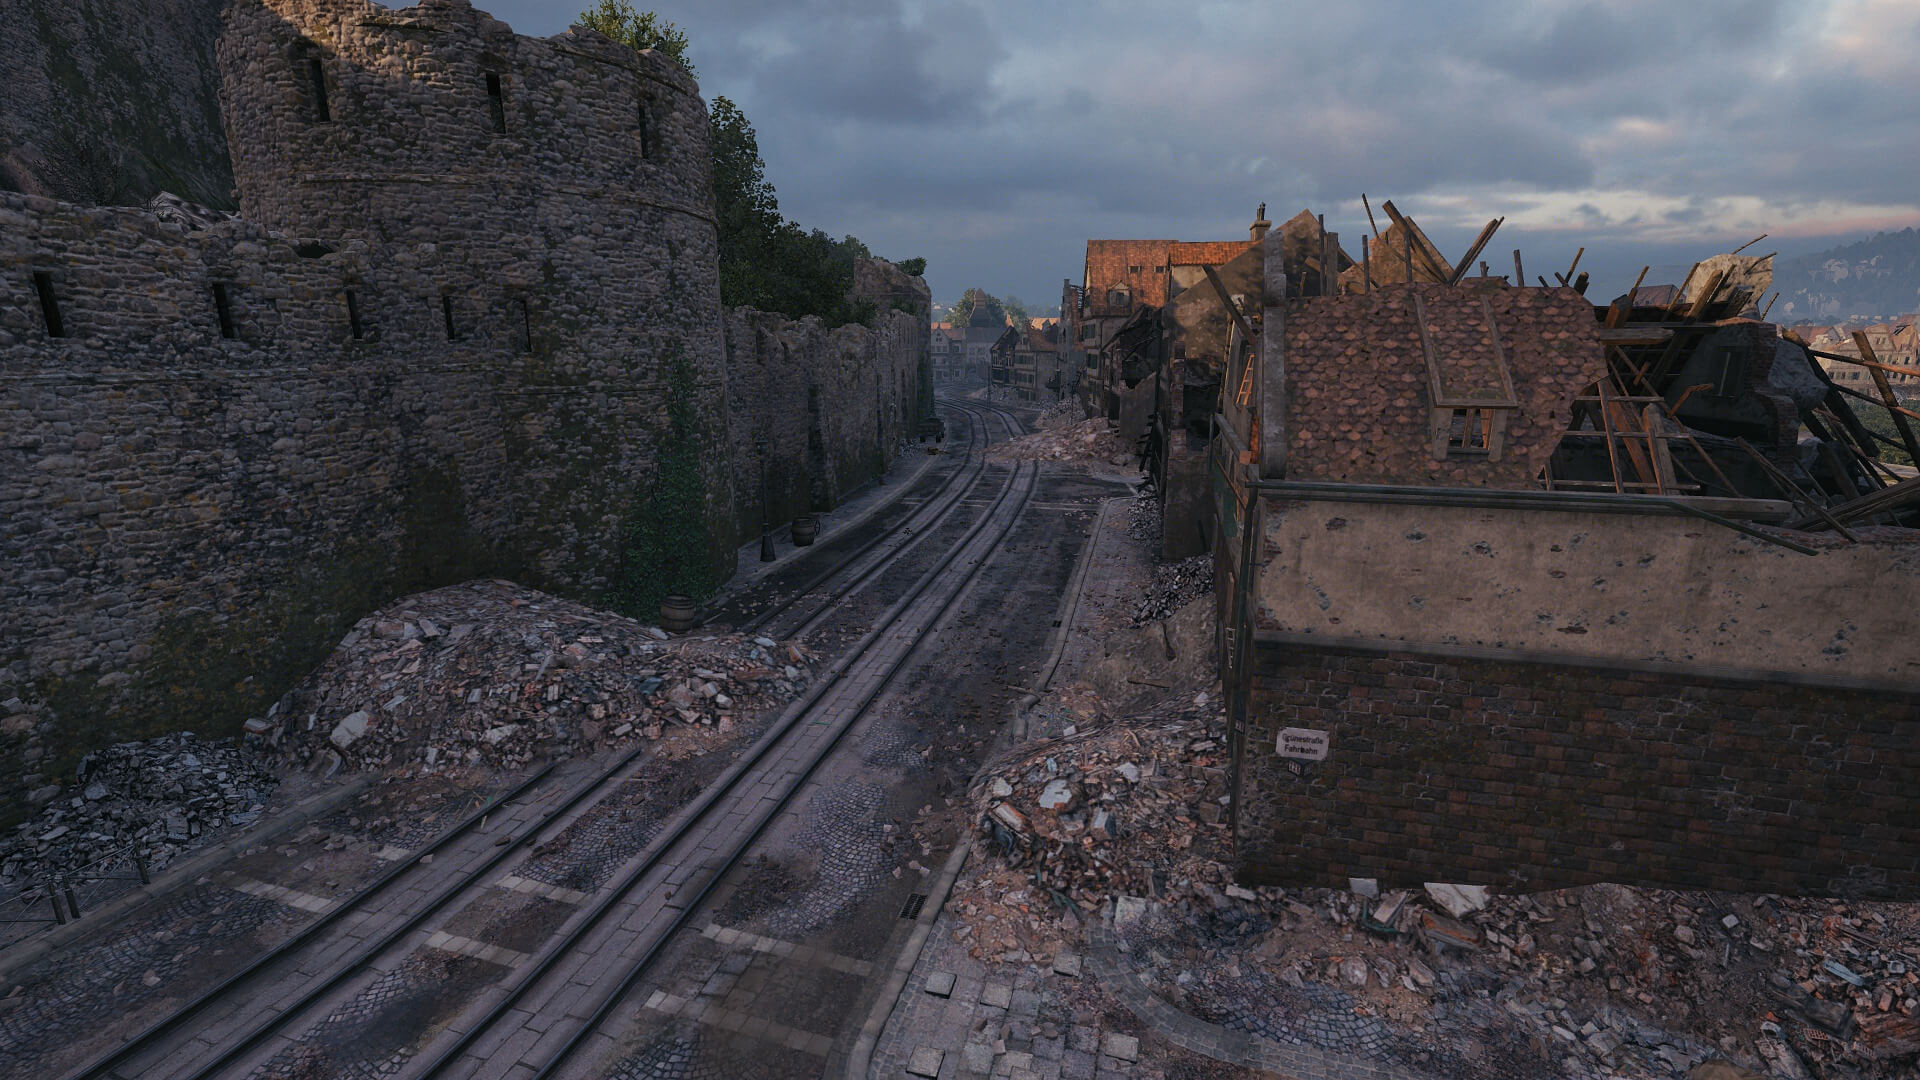
Slow vehicles with high camouflage values can sneak across the train tracks (Lines 1 and 2) to spot enemy maneuvers and for surprise assaults.
The hill can give your team a definite advantage. Fast and semi-fast vehicles, especially with good gun depression angles, should band together to take the castle.
Vehicles with rigid turrets and accurate guns can take the window positions around the center square—as long as your team has control of the hill.
The narrow streets of Himmelsdorf are made for close encounters. Especially the area below the castle hill (squares E7 and F7), lovingly dubbed “The Banana,” is ideal for brawlers with tough frontal armor.
Vehicles with rigid turrets and accurate guns can take the window positions around the center square—as long as your team has control of the hill.
Sturdy vehicles should use the intel provided by light tanks to advance across the tracks (Lines 1 and 2) behind enemy lines.
Sharp shooters with accurate guns can find cover along the tracks and around squares C3 and G3.
Take position in squares A1 or K1 to support allied advancements across the train tracks (Lines 1 and 2), and cover the area around the castle in the east.
Find your path to victory—Roll Out!
This product is not licensed, endorsed, and/or affiliated with any branch of federal, state, and/or sovereign government, or any military branch or service thereof, throughout the world. All trademarks and trademark rights pertaining to military vehicles are proprietary to the respective rights holders. Reference to a particular make, model, manufacturer, and/or version of any military vehicle is for historical accuracy only, and does not indicate any sponsorship or endorsement of any trademark owner whatsoever. Characteristics of all models are realistically reproduced on the basis of technical elements of military vehicles from the 20th century. All trademarks and trademark rights pertaining to military vehicles are proprietary to the respective rights holders.
© 2009–2025 Wargaming.net All rights reserved.